
How to Repot Indoor Plants Without Stressing Them
Learn expert tips for repotting indoor plants with minimal stress. Discover the best timing, tools, and techniques for happy, thriving houseplants.
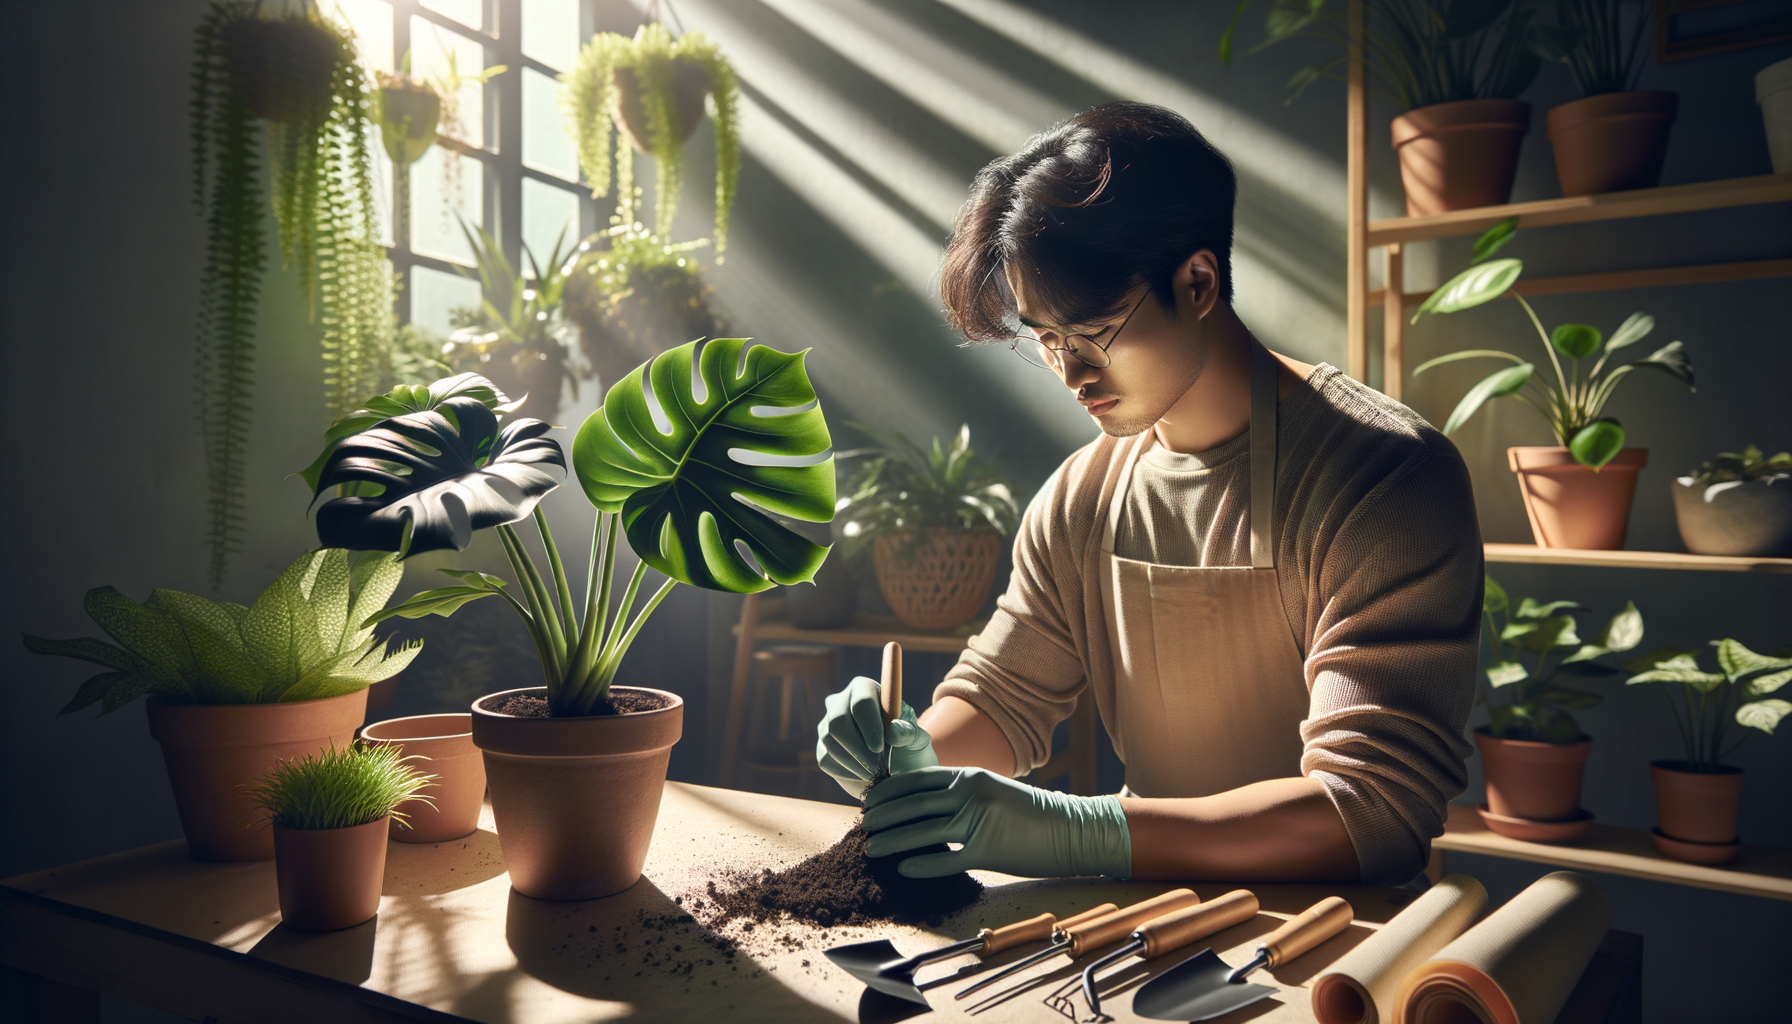
How to Repot Indoor Plants Without Stressing Them
Repotting indoor plants is an essential part of keeping your leafy companions healthy and thriving. While it might seem daunting, with a little know-how and the right touch, you can repot your indoor plants without stressing them. Whether you’re a seasoned plant parent or just starting your indoor garden, this guide will equip you with the confidence and practical tips you need for a smooth, stress-free repotting experience.
# Why Repotting Indoor Plants Matters
Repotting indoor plants isn’t just about aesthetics or giving your plants a new home; it’s a vital part of plant care that supports their ongoing health. Over time, houseplants outgrow their containers, roots become crowded, and soil loses nutrients. Here’s why regular repotting is so important:
- Prevents root-bound stress: When roots circle around the pot too much, they can’t access water and nutrients efficiently, leading to stunted growth.
- Refreshes soil nutrients: Old potting mix compacts and loses its fertility, while fresh soil provides a nutrient boost.
- Promotes healthy growth: A larger pot gives roots space to expand, leading to bigger, lusher plants.
- Helps manage pests and diseases: Repotting gives you a chance to inspect roots and address any hidden issues.
Knowing when and how to repot indoor plants is a skill every home gardener can master. Next, let’s tackle how to recognize when your plant is ready for a new pot.
# When to Repot Indoor Plants
# Signs Your Plant Needs Repotting
Recognizing the right moment for repotting indoor plants is key to minimizing stress. Watch for these telltale signs:
- Roots poking out of drainage holes
- Water runs straight through the pot (indicating compacted soil or root-bound conditions)
- Stunted growth despite regular care
- Yellowing or dropping leaves
- Soil dries out very quickly
- Visible roots circling the soil surface
If you spot one or more of these symptoms, chances are your plant is due for a fresh start.
# The Best Time of Year for Repotting
Most indoor plants prefer to be repotted during their active growth phase, typically in spring or early summer. This timing gives them the best chance to recover and settle into their new home. Avoid repotting during dormancy (late autumn or winter) unless absolutely necessary, as plants are less resilient at this time.
# Gathering Supplies for Stress-Free Repotting
Preparation is half the battle! Having everything you need on hand ensures a smooth, efficient repotting process that keeps stress to a minimum—for both you and your plants. Here’s what to gather:
- New pot: Choose a container 1–2 inches larger in diameter than the current one, with good drainage holes.
- Fresh potting mix: Use a high-quality, well-draining mix suited to your specific plant (e.g., cactus mix for succulents, or a peat-free indoor blend for tropicals).
- Trowel or spoon: For scooping soil in and out.
- Watering can or spray bottle: For pre- and post-repotting hydration.
- Gloves: Optional, but useful for handling prickly or messy plants.
- Scissors or clean pruners: To trim dead roots or leaves.
- Old newspaper, tray, or drop cloth: To keep your workspace tidy.
# Step-by-Step Guide: Repotting Indoor Plants Without Stress
Repotting isn’t just about moving a plant from one pot to another. The goal is to disturb the roots as little as possible and set your plant up for a healthy transition. Follow these steps for success:
# 1. Water Before You Start
Water your plant a day or two before repotting. Moist soil holds together better, protecting delicate roots during the process. Avoid repotting dry or wilted plants, as this increases the risk of shock.
# 2. Prepare the New Pot and Soil
Place a layer of fresh potting mix at the bottom of the new pot. If the new pot is much deeper, you can add a bit more soil, but don’t fill it to the top just yet—leave room for the root ball.
# 3. Gently Remove the Plant
To remove the plant, tip the pot sideways and gently tap the sides. Support the base of the plant and ease it out. If it’s stuck, squeeze the pot sides (if flexible) or run a knife around the inside edge to loosen roots. Take your time—forcing the plant out can damage roots and increase stress.
# 4. Inspect and Prune the Roots
Once out, gently shake off or tease away some of the old soil. Inspect the roots:
- Healthy roots are white or light tan and firm.
- Dead or rotting roots look brown, black, mushy, or smell bad—trim these with clean scissors.
If the roots are tightly circling the root ball, gently tease them apart with your fingers. This encourages new growth outwards into the fresh soil.
# 5. Place the Plant in Its New Pot
Set the plant in the center of the new pot. Adjust the height by adding or removing soil beneath the root ball. The top of the root mass should sit about 1 inch below the rim, allowing space for watering.
# 6. Fill Around With Fresh Soil
Add potting mix around the root ball, gently pressing it down to eliminate air pockets but not so tightly that you compact the soil. Leave a small gap at the top for watering.
# 7. Water Thoroughly
Water the plant well, allowing excess to drain out. This settles the soil around the roots and helps the plant acclimatize.
# 8. Clean Up and Place in the Right Spot
Wipe leaves with a damp cloth to remove soil, and tidy up your workspace. Place your repotted plant in a spot with indirect light for a few days, avoiding harsh sun while it recovers.
# Tips for Minimizing Stress When Repotting Indoor Plants
Repotting can be a bit of a shock for houseplants, but there are several steps you can take to ensure a gentle transition. Here are some expert tips:
# Choose the Right Pot Size
Avoid the temptation to go too big—this can lead to root rot, as excess soil retains too much moisture. A pot just slightly larger than the previous one is ideal.
# Maintain Similar Growing Conditions
After repotting, keep temperature, humidity, and light levels consistent. Sudden changes add to plant stress.
# Handle Roots Gently
Minimize root disturbance as much as possible. Only prune roots that are dead, mushy, or circling tightly.
# Avoid Fertilizing Immediately
Wait at least a month before fertilizing newly repotted plants. Fresh potting mix usually contains nutrients, and additional feeding can overwhelm sensitive roots.
# Monitor Carefully
Keep an eye on your plant for the first few weeks. Some leaf droop or yellowing is normal as it settles in, but prolonged wilting or dropping may indicate overwatering or root damage.
# Special Considerations for Different Types of Indoor Plants
Not all houseplants respond the same way to repotting. Here are tips for some popular types:
# Repotting Succulents and Cacti
These drought-loving plants need extra care. Use a cactus/succulent mix and avoid watering for a few days after repotting to prevent root rot. Handle gently to avoid breaking brittle roots or stems.
# Repotting Orchids
Orchids like to be snug and need special orchid bark or mix. Repot when roots outgrow the pot or the mix breaks down—usually every 1-2 years. Keep them in indirect light and avoid heavy watering after repotting.
# Repotting Large or Mature Houseplants
For big plants, consider “refreshing” the top few inches of soil instead of full repotting if moving the whole plant is too stressful. Use a stake or helper for support when repotting large specimens.
# Common Mistakes to Avoid When Repotting Indoor Plants
Even experienced gardeners make mistakes! Here are pitfalls to watch out for:
- Repotting into an oversized pot: Leads to soggy soil and root rot.
- Damaging roots excessively: Only trim what’s necessary.
- Using garden soil: Always use a sterile, peat-free potting mix for indoor plants.
- Ignoring drainage: Ensure pots have holes; never let roots sit in standing water.
- Repotting during dormancy: Wait for active growth for best results.
# Aftercare: Helping Your Plant Thrive Post-Repotting
Your plant will need a little TLC after its move. Here’s how to help it settle in:
- Keep in bright, indirect light for a week or two.
- Water only when the top inch of soil dries out (unless your plant prefers consistently moist soil).
- Mist leaves if air is dry, especially for tropical varieties.
- Hold off on fertilizer for a month.
- Watch for pests or signs of stress like yellowing or wilting, and adjust care as needed.
# Conclusion: Repotting Indoor Plants With Confidence
Repotting indoor plants doesn’t have to be stressful—for you or your leafy friends. By recognizing when to repot, gathering the right supplies, and following gentle, expert techniques, you’ll give your houseplants the best possible chance to thrive. Remember to handle roots with care, choose the right pot and soil, and provide consistent aftercare. With these friendly, practical tips, you’ll master the art of repotting indoor plants without stress, ensuring a greener, happier home for years to come.